Building My Portfolio Website With Nextjs
It’s time for a new portfolio website! This time I decided to use Next.js to generate my static site with these principles in mind:
- Take a README markdown file of my resume and convert it to a static homepage
- Use semantic HTML with global styles for easy customization
- Adding next pages will append links to the homepage
README Conversion
The core concepts of this project are built on the foundation of these methods:
- Bootstrap a create-next-app
- Use the getStaticProps to generate HTML from the README with showdown
- Use dangerouslySetInnerHTML for SEO optimization
Getting Started with Next
We can start bootstrapping our application using the create-next-app npm script.
$ npx create-next-appGenerating HTML from README
Using getStaticProps and showdown, we can generate some HTML to use for our site generation.
export async function getStaticProps() {
  const path = require('path');
  const fs = require('fs');
  const { Converter } = require('showdown');
  const converter = new Converter();

  function parseREADME() {
    return new Promise((res) => {
      fs.readFile(path.join(process.cwd(), 'README.md'), (err, data) => {
        const readme = data.toString();
        const html = converter.makeHtml(pReadme);
        res(html);
      });
    });
  }

  const html = await parseREADME();

  return {
    props: { html },
  };
}
Serving HTML optimized for SEO
The key to using dangerouslySetInnerHTML with next.js is that we want to ensure the content of our HTML is served as static content for SEO.
return (
    <div>
      <Head>
        <title> {title} </title>
        <link rel="icon" href="/favicon.ico" />
      </Head>

      <main dangerouslySetInnerHTML={{ __html: html }} />

      <footer>

      </footer>
    </div>
  );
Semantic Styling
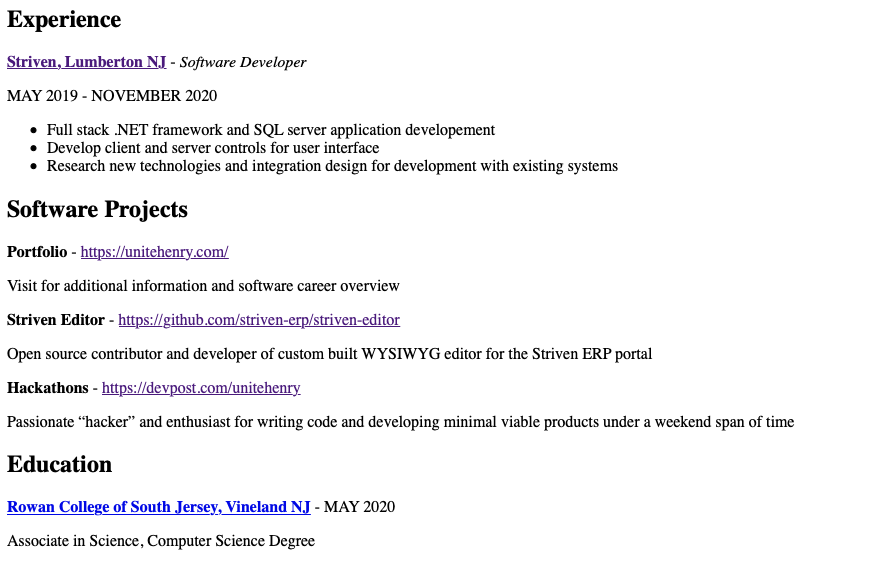
After your content is being injected in the page, you should be staring at a wall of black and white text like this:

Using the global.css file provided by next, we can globally style semantic elements like this:
body {
     /* CSS Styles */
}

main {
     /* CSS Styles */
}

main hr {
     /* CSS Styles */
}

main strong {
     /* CSS Styles */
}

main p {
     /* CSS Styles */
}

main h1, main h2, main h3, main h4, main h5, main h6 {
     /* CSS Styles */
}

main ul, main ol {
     /* CSS Styles */
}

main li {
     /* CSS Styles */
}

main a {
     /* CSS Styles */
}
Page Extensibility
One of the design concepts I wanted to implement was the idea that you could add a next page in the pages directory and a navigation link be appended to the homepage.
Taking advantage of the the getStaticProps function, we can use node to read the directory, exclude unrelated files, and generate links in our homepage.
// CONFIG['pageExcludes'] = [ 'app', 'api', 'index']

  function getPages() {
    return new Promise((res) => {
      fs.readdir(path.join(process.cwd(), 'pages'), (err, data) => {
        const pageFiles = data.filter((f) => {
          return !CONFIG['pageExcludes'].filter((ex) => f.includes(ex)).pop();
        });

        res(pageFiles.map((p) => p.replace('.js', '')));
      });
    });
  }

  const html = await parseREADME();
  const pages = await getPages();

  return {
    props: { html, pages },
}; <footer>
<div id="pages">
{ pages.map((p) => p ? <a key={p} href={`/${p}`}>{ p }</a> : null }
</div>
</footer>Gathering my Blog Post Data
With this feature, I can now create unique CMS pages to extend my static site. Let’s create a blog page to fetch my DEV posts.
I’ll be using the axios library to make a request to the DEV api, gather my posts data, and send those props to the page for static site generation. Again, taking advantage of the getStaticProps hook.
// pages/blog.js

export async function getStaticProps() {
  const axios = require('axios');

  function getArticle() {
    return new Promise(async (res) => {
      const req = await axios({
        method: 'GET',
        url: 'https://dev.to/api/articles?username=unitehenry'
      });

      if(req['data']) {
        try {
          const data = req['data'];
          res(data.map((article) => {
            return {
              title: article['title'],
              description: article['description'],
              url: article['url'],
              date: article['created_at'],
              image: article['cover_image']
            };
          }));
        } catch(e) {
          res([]);
        }
      } else {
        res([]);
      }
    });

  }

  const articles = await getArticle();

  return {
    props: { articles }
  }
} <section>
{ (articles.length === 0) && <p>No Blog Posts</p>}
{
articles.map(({ title, description, date, url, image }) => {
return (
<article key={title} className={style['blog-article']}>
{ image ? <img src={image} /> : null}
<div className={style['blog-article-content']}>
<h2>{ title }</h2>
<p>{ description }</p>
<a title="Read Article" className={style['blog-button']} href={url} target="_blank">Read Article</a>
</div>
</article>
);
})
}
</section>
Bootstrapping of my Repository
If you want to see the source code or fork this repo and generate your own static site, I’ve created a GitHub repository and documented in detail how to customize the code for your own static portfolio site.
GitHub Trick
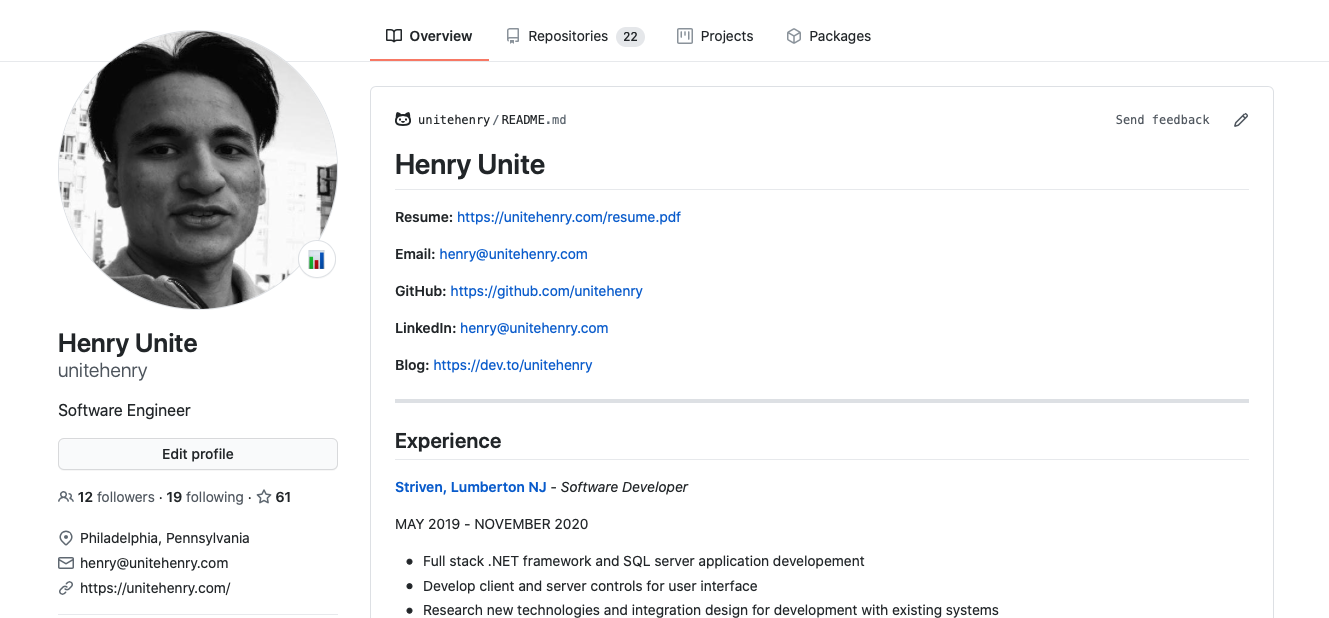
As a side note, there is a GitHub trick that will take your README and display it on your GitHub profile as well.
